
Last updated October 31, 2026
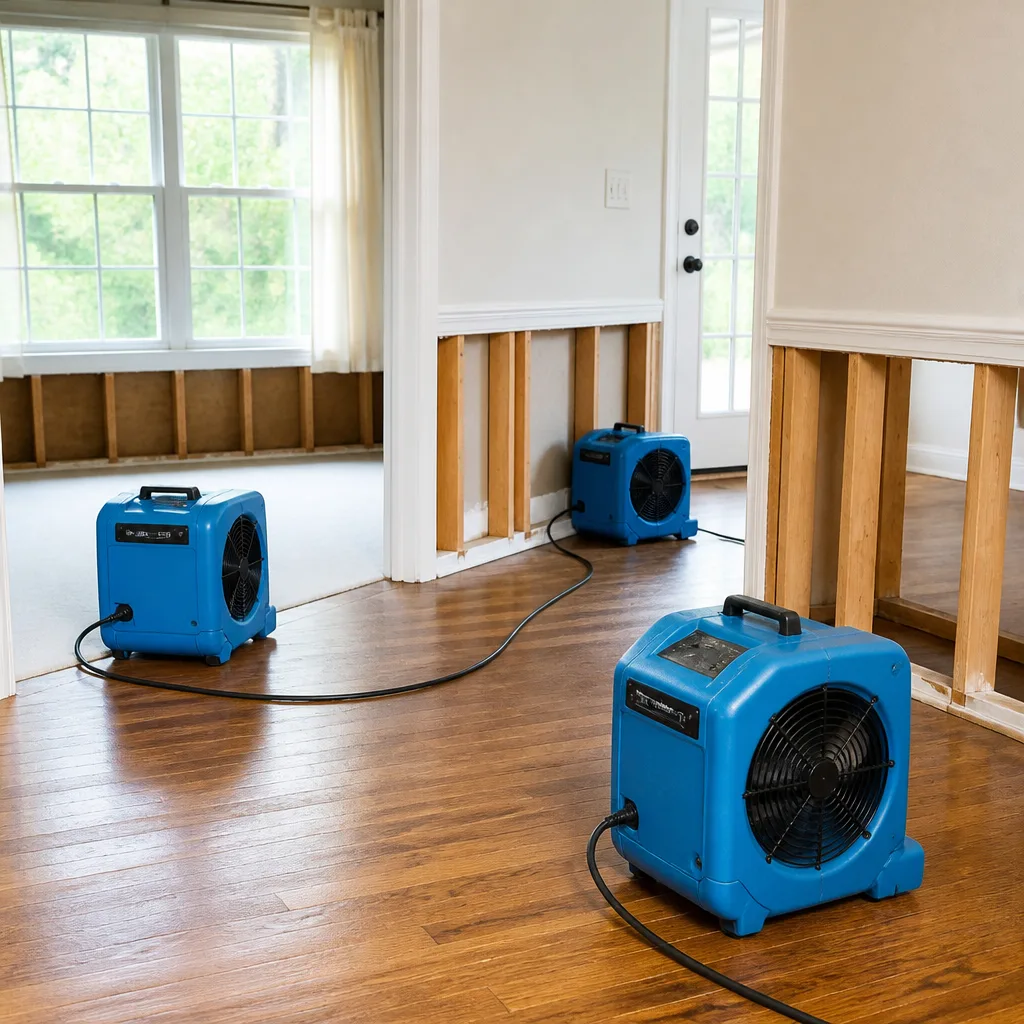 Water damage drying
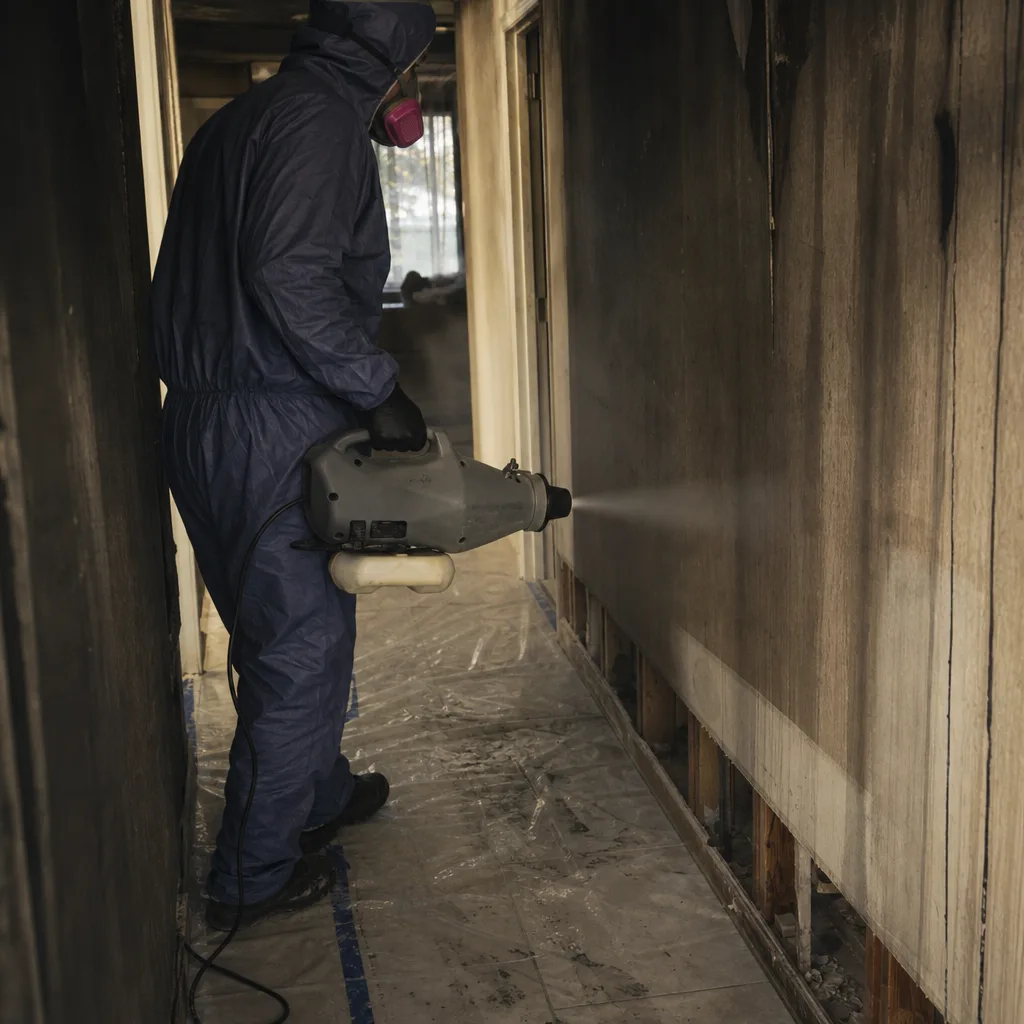
 Fire & smoke cleanup
 Mold remediation
 Storm response
 Sewage cleanup
 Reconstruction
Free visual inspection and a written scope of work before any mitigation begins - photos, moisture readings, and drying logs go in your claim file
The scope we write is the scope we bill. Anything new gets shown to you, in writing, before we touch it.
Get your free estimateSeasonal Damage Restoration Care for Corona: Year-Round Homeowner’s Guide
Corona averages roughly 12 inches of rain per year, which has a strange effect on homeowners here: it convinces them water damage is someone else’s problem. Santa Ana? Sure. Riverside? Maybe. But Corona sits at the base of the Santa Ana Mountains, and when those canyons open up during a winter storm, the runoff has to go somewhere. That “somewhere” is often a foundation, a crawl space, or a drainage system that hasn’t been tested since the last wet cycle, whenever that was. This guide covers the four seasonal risk windows in Corona, what actually fails in each one, how to inspect for it, and how to document what you find so an insurance claim holds up if something goes wrong.
Quick Answer
Corona’s damage risk follows a predictable seasonal pattern: fall drainage failures, winter freeze-thaw pipe bursts and wind-driven rain intrusion, spring mold bloom in wall cavities after wet winters, and summer HVAC condensation and appliance line failures during sustained heat. Homeowners who complete a pre-season inspection in each window, document findings with photos and written notes, and address small problems early will avoid most emergency restoration calls entirely. For a structured approach, see our Water Damage Restoration Maintenance Checklist for Corona Homeowners. When damage does occur, a protocol-driven response within the first 24 to 48 hours is the single biggest factor in limiting scope and cost.
Restoration work we handle
Table of Contents
- Fall (September – November): The Pre-Storm Drainage Audit
- Winter (December – February): Freeze-Thaw Cycles and Wind-Driven Rain
- Spring (March – May): The Post-Rain Mold Window
- Summer (June – August): HVAC Condensation and Appliance Failure Season
- How to Document Each Seasonal Inspection for Insurance Claims
- Common Mistakes to Avoid
- When to Call a Professional
- Frequently Asked Questions
Fall (September – November): The Pre-Storm Drainage Audit
The most dangerous misconception in Corona is that a dry autumn means a low risk winter. The opposite is true. When drainage components sit unused for eight or nine months, they fail silently. Downspout extensions detach at the elbow. Sediment settles in channel drains. Soil around the foundation compacts and settles, sometimes reversing its original grade. Small cracks in stucco widen as temperatures swing. None of this announces itself. Then the first real storm arrives, and every compromised component fails on the same day.
In our experience working on water damage in Corona homes built from the 1970s through the 2000s, the failures cluster around a handful of predictable locations:
- Downspout terminations. Extensions get kicked off by gardeners, kids, and trash bins. When a downspout dumps water within 24 inches of the foundation, it saturates the soil against the slab or stem wall. Over a single wet winter, this can push water through hairline cracks in the slab and into the flooring assembly.
- Foundation grading. Soil settles over time, especially in the clay-heavy lots common in eastern Corona. If the grade has flattened or reversed, water pools against the foundation instead of flowing away. A visual check from the sidewalk level is enough to spot it.
- Swales and channel drains. Many older Corona subdivisions route surface water through shallow swales between homes. When these clog with leaves and sediment, water backs up and sheets toward the nearest structure.
- Roof penetrations and flashing. The intense summer heat in Corona ages sealant around vents, skylights, and flashings faster than in coastal climates. Hairline gaps don’t leak in dry weather, but a wind-driven rain can exploit them in minutes.
- Window and door weeps. Stucco-clad homes in Corona sometimes have blocked weep screeds or poorly sealed window frames, which allows water to track inward during angled rain.
Step-by-Step Fall Drainage Audit for Corona Homes
- Walk the entire perimeter after the first light rain of the season (if one has occurred) or manually run a hose at roof level to simulate drainage paths. Watch where water pools, where it sheets against the stucco, and where downspouts discharge.
- Confirm every downspout extension ends at least 4 feet from the foundation. In tight side yards, consider a splash block or a buried drain line. The key is moving water away from the structure, not just slowing it.
- Check the soil grade against the stem wall with a simple level or by eye. The ground should drop 1 inch per foot for at least the first 4 to 6 feet away from the home. If it doesn’t, regrade or add a swale.
- Clean out all swales, channel drains, and gutters. Corona’s dry season deposits an unusual amount of fine dust and leaf litter in these channels, and the first storm turns it into a paste that blocks everything.
- Inspect sealant and flashing on the roof and around windows. Focus on the south and west exposures, which take the most solar degradation in Corona’s climate. Recaulk anything that looks cracked, chalked, or lifted.
Fall is also the right time to confirm your insurance policy details. Water damage from a sudden plumbing failure is typically covered. Water damage from long-term seepage is not. Knowing the difference before water shows up will shape how you respond if something fails in January. Our water damage restoration guide covers the claim process in more detail.
Winter (December – February): Freeze-Thaw Cycles and Wind-Driven Rain
Corona rarely drops below freezing, but it doesn’t have to. The danger window is wider than homeowners expect. When overnight lows dip into the mid-30s, exposed supply lines in uninsulated exterior walls and unheated garage spaces contract. As the day warms, they expand again. Repeated cycles fatigue the copper or PEX at the joints, and a fitting that has held for 15 years can finally let go on a cold December morning.
The vulnerable locations in typical Corona construction are consistent:
- Hose bibs. On many 1970s and 1980s Corona homes, hose bibs are run in exterior walls with no insulation on the supply line. A forgotten garden hose left attached is the classic failure point: water trapped in the bib freezes, expands, and splits the pipe inside the wall. The leak doesn’t reveal itself until the hose is turned on in spring, by which point water has been running inside the wall cavity for weeks.
- Garage supply lines. Garages in Corona are rarely conditioned spaces. Copper lines running to a utility sink or a water heater in the garage see actual freezing temperatures on cold nights, especially in the Eagle Glen and South Corona neighborhoods that sit slightly higher and catch the cold air drainage from the mountains.
- Attic runs above insulation. In some two-story homes, supply lines pass through the attic space above the top plate. Builders in the 1990s and 2000s often ran PEX through unconditioned attics, and a cold snap can freeze those lines while the rest of the house stays warm.
Pre-Winter Freeze Checklist
- Disconnect and drain all garden hoses. Store them indoors or in a shed. A hose left attached to a bib is the single most common cause of winter pipe failure in Corona.
- Install frost-proof hose bibs or insulated bib covers. If your home has standard bibs on exterior walls, this is the highest-return upgrade you can make before the rainy season.
- Locate your main shutoff valve and make sure it turns freely. In a pipe burst emergency, shutting off the water within two minutes versus twenty minutes is the difference between a localized repair and a full floor replacement. Every adult in the household should know where this valve is and how to operate it.
- Insulate exposed supply lines in the garage and any unheated attic runs. Pipe insulation is cheap and takes an afternoon to install. Focus on the PEX or copper lines within 3 feet of exterior walls.
- Check windows and doors for air gaps. Cold air infiltration accelerates the temperature drop in wall cavities where pipes live. A $10 tube of caulk along the baseboards and trim on cold nights is a cheap insurance policy.
Wind-driven rain is a second winter risk that gets less attention than it deserves. Corona’s position at the edge of the Santa Ana Mountains creates gusting patterns during Pacific storms, and horizontal rain can find entry points that vertical rain never touches. We’ve seen water intrusion on the east-facing walls of Corona homes during storms where the conventional wisdom said “rain doesn’t fall sideways in Southern California.” It does. The weak points are always the same: window frames with deteriorated glazing, sliding door tracks with missing weep covers, and attic vents on gable ends.
Spring (March – May): The Post-Rain Mold Window
Here’s the pattern we see every year in Corona, and it surprises homeowners who did everything right during the winter: a wet December or January soaks the soil around the foundation. The homeowner stays dry inside. No visible leaks. Two months pass. Then, in late March or early April, when indoor temperatures rise and the home’s HVAC system starts cycling again, a musty odor appears. By the time the smell registers, mold has been growing inside the wall cavities for four to eight weeks.
The 10 to 14 day window right after winter is the highest-risk period for hidden mold formation because of how humidity behaves. Winter moisture trapped in wall cavities stays dormant while temperatures are cool. Mold spores need three things to colonize: moisture, organic material (drywall paper, wood framing), and temperatures above roughly 60°F. During a Corona winter, the temperature condition isn’t always met. Spring changes that. The first warm days of March push wall cavity temperatures into the active range, and any residual moisture from winter intrusion becomes the growth medium.
What to Check in the Spring Mold Window
- Baseboards and drywall near exterior walls. Look for a subtle swell, discoloration, or paint that no longer sits flush. In Corona’s stucco homes, water that entered through a hairline crack in the fall travels down the backside of the building paper and pools at the bottom plate. The first visible sign is often a raised or wrinkled baseboard.
- Window sills and the bottom corners of window frames. Condensation from winter temperature swings leaves moisture behind the casing, and spring warmth activates any spores that found a foothold.
- Under sinks, especially in bathrooms on exterior walls. Slow leaks at supply fittings or drain connections may have dripped all winter unnoticed. Check for staining on the cabinet floor and warping of the shelf surface.
- The smell test. A persistent earthy or musty odor that’s stronger when the HVAC runs and fades when it’s off is a strong indicator of hidden microbial growth. In Corona’s newer subdivisions with tight building envelopes, the smell often concentrates in rooms farthest from return air registers.
- Attic humidity. After a wet winter, a poorly ventilated attic in Corona can hold elevated humidity well into April. Insulation that feels damp or soggy to the touch is a problem that won’t dry out on its own.
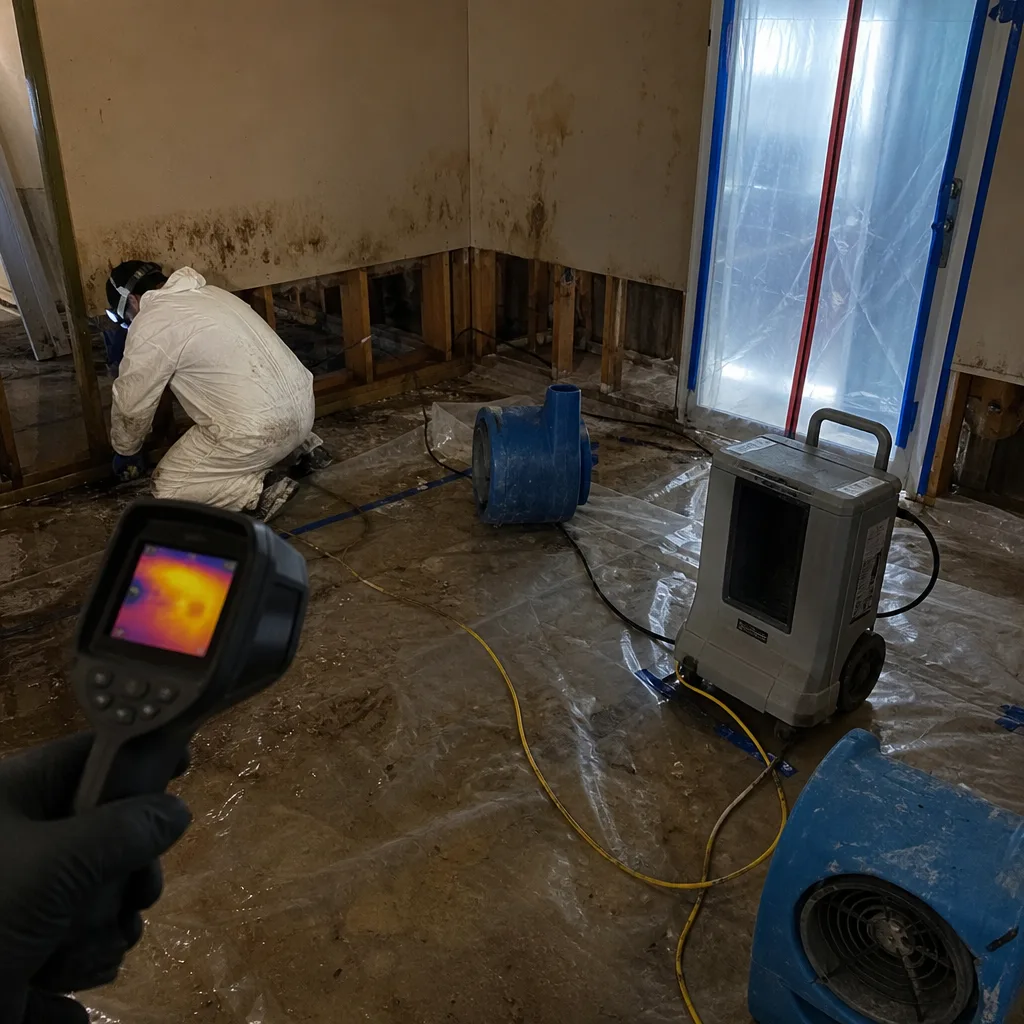
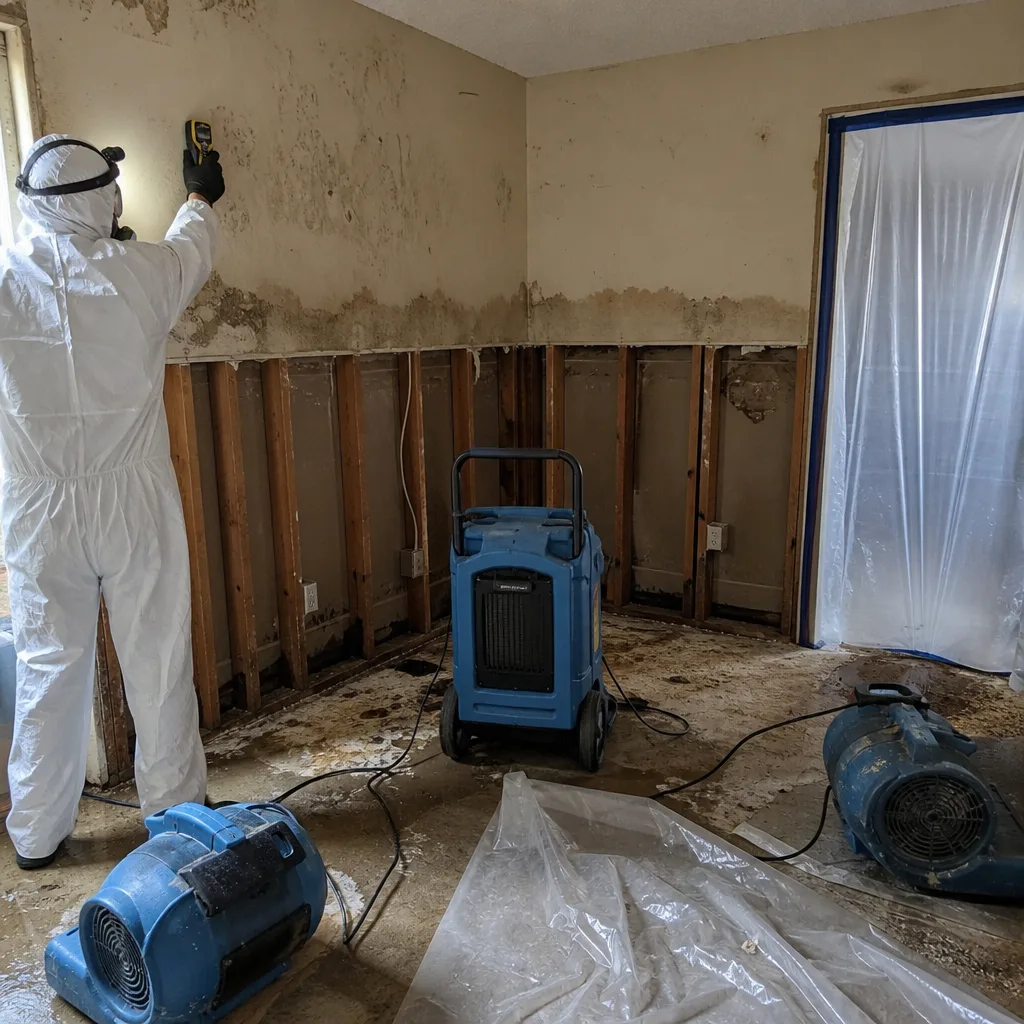
What surprises many Corona homeowners is that mold in a wall cavity is rarely a visible problem until it’s a significant one. By the time staining appears on interior drywall, the colony has usually been active for weeks. The cost difference between treating early-stage mold behind a baseboard and treating a full wall cavity infection with demo and reconstruction can be five to ten times higher. If the smell is there but the source is hidden, a professional assessment with moisture meters and thermal imaging is the right next step. Learn more about what’s involved in our mold remediation guide.
Summer (June – August): HVAC Condensation and Appliance Failure Season
Summer in Corona is a different kind of water damage season. No rain, no storms, no obvious weather event. Instead, the damage comes from sustained heat stressing systems that are now running continuously for the first time all year. The two big ones: A/C condensate pan overflow and refrigerator supply line failures.
Corona’s summer temperatures routinely exceed 95°F and often reach into the 100s for stretches of several days. During these runs, an HVAC system can produce 5 to 20 gallons of condensate per day, depending on humidity, home size, and unit age. That water has to go somewhere: normally it drains through a PVC line to the exterior or into a condensate pump that moves it to a drain. When the drain line clogs or the pump fails, the water backs up into the drain pan. If the pan is cracked, rusted, or the float switch is stuck, the pan overflows, and water soaks the ceiling below or the platform under the air handler.
Refrigerator supply lines follow a similar failure pattern. Many Corona kitchens have saddle valves or older braided stainless lines feeding the ice maker. These components sit under constant pressure year-round, and the heat of a Corona summer accelerates material fatigue. When the line lets go, it can dump several gallons per minute onto the kitchen floor, and because it often happens in the middle of the day when nobody’s home, the water has hours to migrate through flooring, under cabinets, and into the subfloor.
Pre-Summer Failure Checklist
- Pour a cup of white vinegar into the A/C condensate line at the beginning of June. This dissolves algae and mold buildup that accumulated during the dormant months. If the line is already blocked, use a wet/dry vac to pull the clog out from the exterior end.
- Test the condensate pump float switch. Pour water directly into the pump’s reservoir and confirm the pump activates and moves water. If it hums but doesn’t pump, replace it now, not when it fails on a 105°F day.
- Inspect the drain pan under the air handler. Look for rust, cracks, or standing water that indicates a partially blocked line. A pan that’s wet when the system has been running for an hour has a drainage problem, even if it hasn’t overflowed yet.
- Replace refrigerator supply lines older than 8-10 years. This is cheap insurance. A new braided stainless line costs less than $30 and takes 15 minutes to install. If you see any green corrosion on a copper line or condensation on the fitting, replace it immediately.
- Check the water heater, especially if it’s in the garage or an exterior closet. Corona’s mineral-heavy water accelerates anode rod consumption and tank corrosion. A pinhole leak at the tank fitting during the summer months is a common damage source in older Corona homes.
Summer is also a good time to review what your insurance actually covers. AC condensate overflow that damages a ceiling is often covered as sudden and accidental discharge, but the age and condition of the unit can trigger depreciation. Documenting that you’ve maintained the system gives your adjuster less room to argue. For fire-related concerns during high heat, our fire damage restoration guide outlines the restoration process.
How to Document Each Seasonal Inspection for Insurance Claims
Most homeowners in Corona who file a water, mold, or fire damage claim do so with almost no documentation of the condition of their home before the loss. They have an adjuster, a damaged room, and a verbal description of “trust me, it was fine last week.” That’s the weakest possible position. What adjusts the claim in your favor is a paper trail that shows you were proactive and the damage was sudden, unforeseen, and not the result of deferred maintenance. If you’re unsure where problems originate, our Water Damage Restoration Troubleshooting: Common Problems and How to Fix Them can help.
Here’s the documentation habit we recommend for every Corona homeowner, tied directly to the seasonal inspections above:
- Photograph every inspection, not just the problems. Take wide shots of each drainage component, supply line, appliance connection, and HVAC drain pan. These photos establish baseline condition. When something fails, you have “before” images, and that’s exactly what adjusters and restoration estimators need.
- Keep a written log in a single notebook or spreadsheet. One line per inspection is enough: date, what you checked, what you found, what you did. “3/15: Checked A/C drain line, poured vinegar, pan dry, pump tested OK.” That sentence is evidence of maintenance.
- Photograph all receipts for parts and materials. If you buy pipe insulation, a new refrigerator line, or a condensate pump, keep the receipt and photograph it next to the installed part. This proves the maintenance happened and when.
- When damage occurs, photograph everything before moving anything. Stand back and shoot the entire room, not just the wet spot. Include baseboards, doors, the ceiling, and any visible plumbing connections in the frame. If water is actively flowing, shoot a short video showing the source.
- Never throw away failed components. The burst hose, the cracked drain pan, the failed pump: these are physical evidence. Keep them until the claim is resolved. Restoration professionals often document them as part of the cause-of-loss assessment.
- Document the drying process if restoration is needed. A restoration company using IICRC-certified protocols will log daily moisture readings. Request copies of these logs. They demonstrate to your insurer that the drying was complete and compliant, and they protect you from future disputes about scope.
We’ve seen the difference this makes on claims in Corona. A homeowner with a maintenance log and baseline photos typically resolves a claim faster and gets a more complete settlement than one who is trying to reconstruct what happened from memory. The documentation takes ten minutes per season, but it changes the leverage equation entirely when something fails.
Common Mistakes to Avoid
- Thinking infrequent rain means no drainage risk. In Corona, the dryness itself is the problem. Systems sit unused for months and fail when precipitation finally arrives. The home that hasn’t been tested is the one that floods.
- Ignoring a musty smell because there’s no visible water. Hidden mold behind baseboards and in wall cavities doesn’t present as a puddle on the floor. By the time it smells, the colony is established. Early intervention is dramatically less expensive than full remediation.
- Leaving garden hoses attached over winter. This is the number one cause of winter pipe failure in Corona. A frozen hose bib bursts inside the wall, leaks for weeks, and the homeowner doesn’t discover it until spring when the hose is finally turned on.
- Never testing the A/C condensate pump. Pumps fail when they sit unused for months, not when they’re running constantly. The first hot day of summer is when the dormant pump reveals its failure, and that’s when the ceiling gets soaked.
- Neglecting the refrigerator supply line. These lines fail from age and material fatigue, and summer heat accelerates the process. A $30 replacement every decade is the cheapest insurance in the house.
- Failing to document maintenance before a loss. The adjuster’s job is to determine what the policy covers. A homeowner who can show receipts, photos, and a maintenance log has a much stronger position than one who can only say “it was fine.”
- Waiting to call a restoration professional after a leak. Water migrates for as long as it’s wet. Every hour of delay extends the affected area, increases the drying time, and raises the likelihood of secondary mold. The first 48 hours are the cheapest window in any water damage response.
When to Call a Professional
Some seasonal issues are DIY. A clogged gutter is a Saturday job. A disconnected downspout extension is a ten-minute fix. But there are clear lines where a professional restoration team should be called immediately, not after a weekend of thinking about it. Water that has penetrated behind drywall or under flooring requires commercial drying equipment and moisture mapping. A persistent musty odor with no visible source calls for a mold assessment with proper testing and containment. Any fire or smoke damage, even from a small kitchen fire, involves residues that travel far beyond the visible burn area and require professional cleaning and deodorization. If you’ve had a supply line failure that dumped water into a finished space, or an AC overflow that soaked a ceiling, the damage is inside the structure now, not on the surface. OC Restoration Co offers free estimates in Corona. Call (833) 589-7005 and we’ll assess the scope, document what’s needed, and walk you through the next steps, including insurance coordination.
Frequently Asked Questions
Corona averages roughly 12 inches of annual rainfall, concentrated almost entirely between November and March. The low total gives homeowners a false sense of security, but when rain falls in this climate, it often arrives as brief, intense bursts that overwhelm drainage systems that have sat unused for months. The risk isn’t the volume of water; it’s the infrequency that allows systems to fail silently between events.
Yes, in most cases a sudden and accidental pipe burst is covered under a standard homeowner’s policy, including the cost of water extraction and structural drying. What’s typically not covered is damage from slow leaks, seepage, or lack of maintenance that occurred over weeks or months. This is why documentation matters. If you can show the failure was sudden and you maintained the system, your claim is stronger.
Mold spores can colonize wet organic materials like drywall and wood within 24 to 48 hours under the right temperature conditions. In Corona’s climate, winter temperatures sometimes slow this timeline, but the first warm stretch of March or April activates growth in any wall cavities that retained moisture. That’s why the post-rain spring window is the highest-risk mold period in this region.
The single highest-return pre-winter task is disconnecting and draining all garden hoses from exterior hose bibs. This one action prevents the most common winter pipe failure we see in Corona homes: a frozen bib that splits inside the wall and leaks undetected for weeks. Beyond that, locate your main shutoff valve and confirm it turns freely.
Yes. Our team handles water damage, mold remediation, and fire damage restoration using IICRC-certified protocols, and we coordinate directly with insurance adjusters throughout the process. We document every step, from the initial assessment through final clearance, so the claim file is straightforward for everyone involved. Call (833) 589-7005 to discuss your specific situation.
For small, contained spills on a non-porous surface, mopping and running fans is fine. But any water that has wicked into drywall, subfloor, or wall cavities needs professional drying. Household fans can’t pull moisture out of a wall cavity, and a surface that feels dry can still hold 20% moisture content inside. That’s where secondary damage like mold and warping happens. If the water went anywhere except the surface of a hard floor, call a pro sooner rather than later.
The Bottom Line
Corona’s climate doesn’t announce its risks. It hides them in dry months, then reveals them all at once when rain, cold, or heat finally arrives. The homeowners who avoid the worst outcomes are the ones who treat each season as its own inspection window and do the ten-minute checks before the weather forces their hand. Fall drainage audits, winter hose disconnects and pipe insulation, spring mold awareness, and summer AC and appliance checks cover the vast majority of damage scenarios in this region. And when something does fail despite preparation, the response matters more than the event: shut off the water, document everything, and call a certified restoration team within the first day. For help selecting qualified help, read our guide on Choosing the Right Damage Restoration Brand: A Buyer’s Guide for Corona. OC Restoration Co has been serving Corona homeowners since 2017 with IICRC-certified water, mold, and fire restoration. Call (833) 589-7005 for a free estimate.
Written by the team at OC Restoration Co, serving Corona since 2017.
See the difference
 Before
 After
 Before
 After
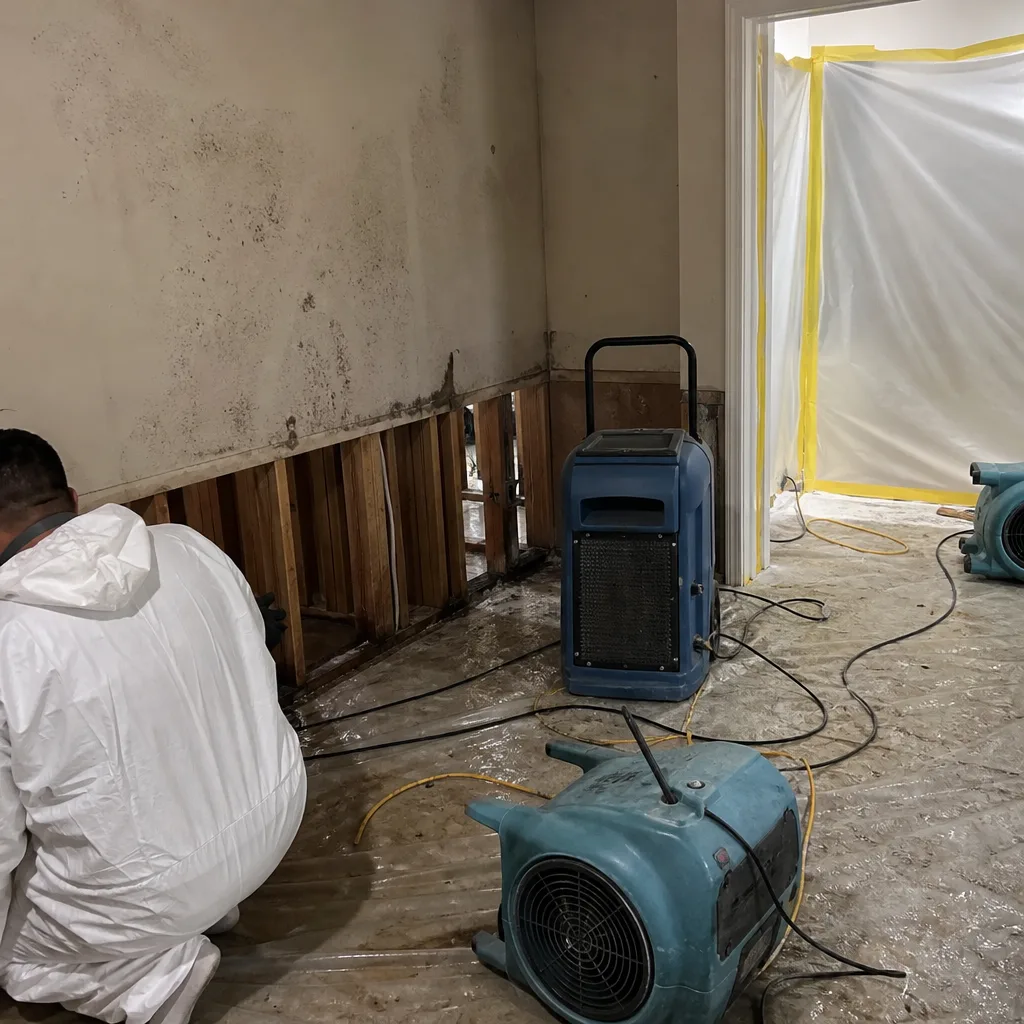 Before
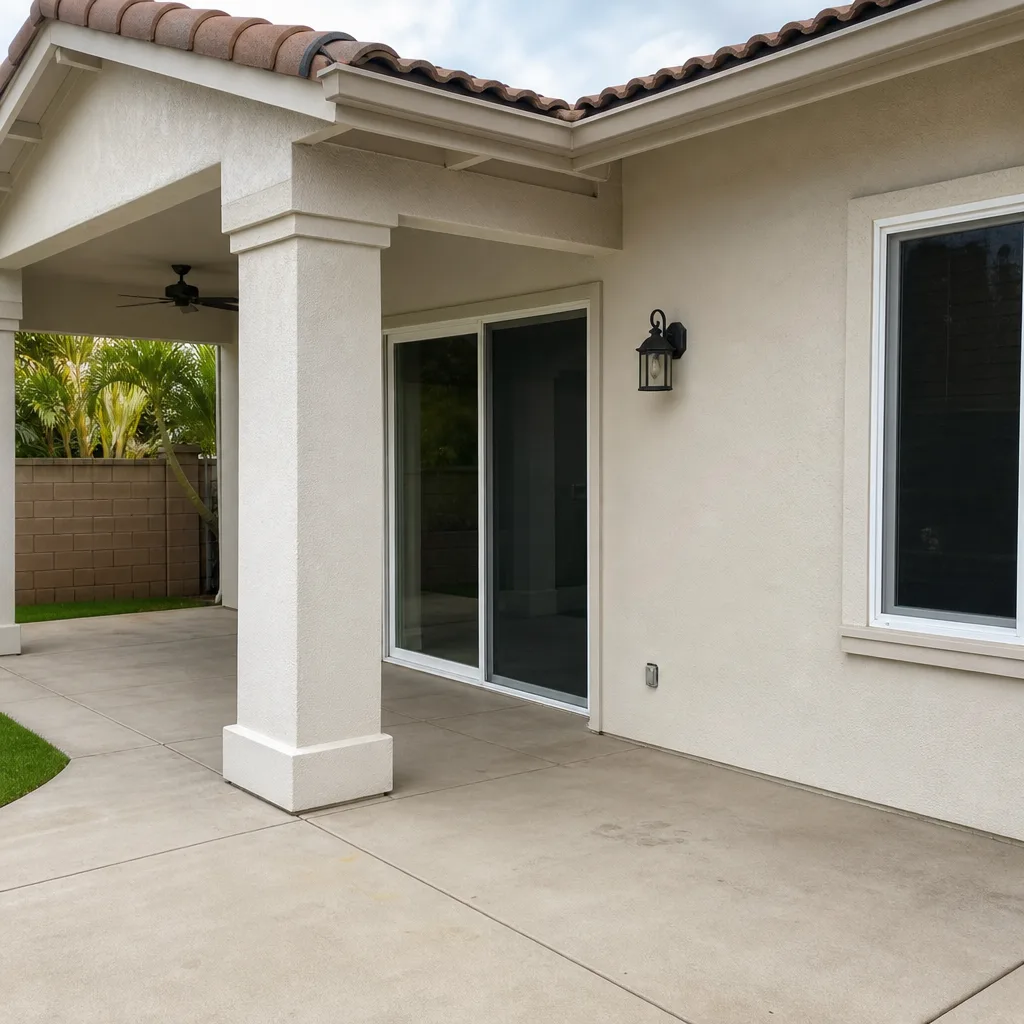 After