Last updated October 31, 2026
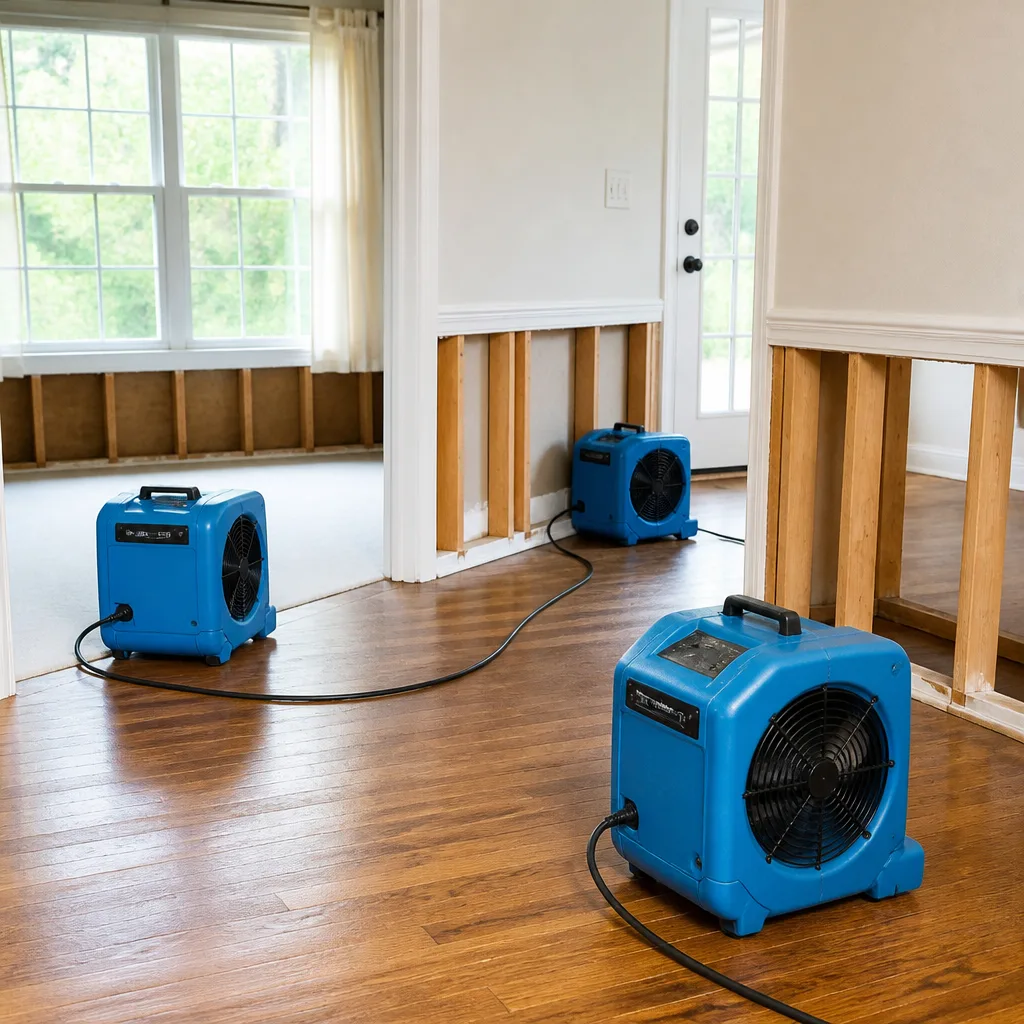 Water damage drying
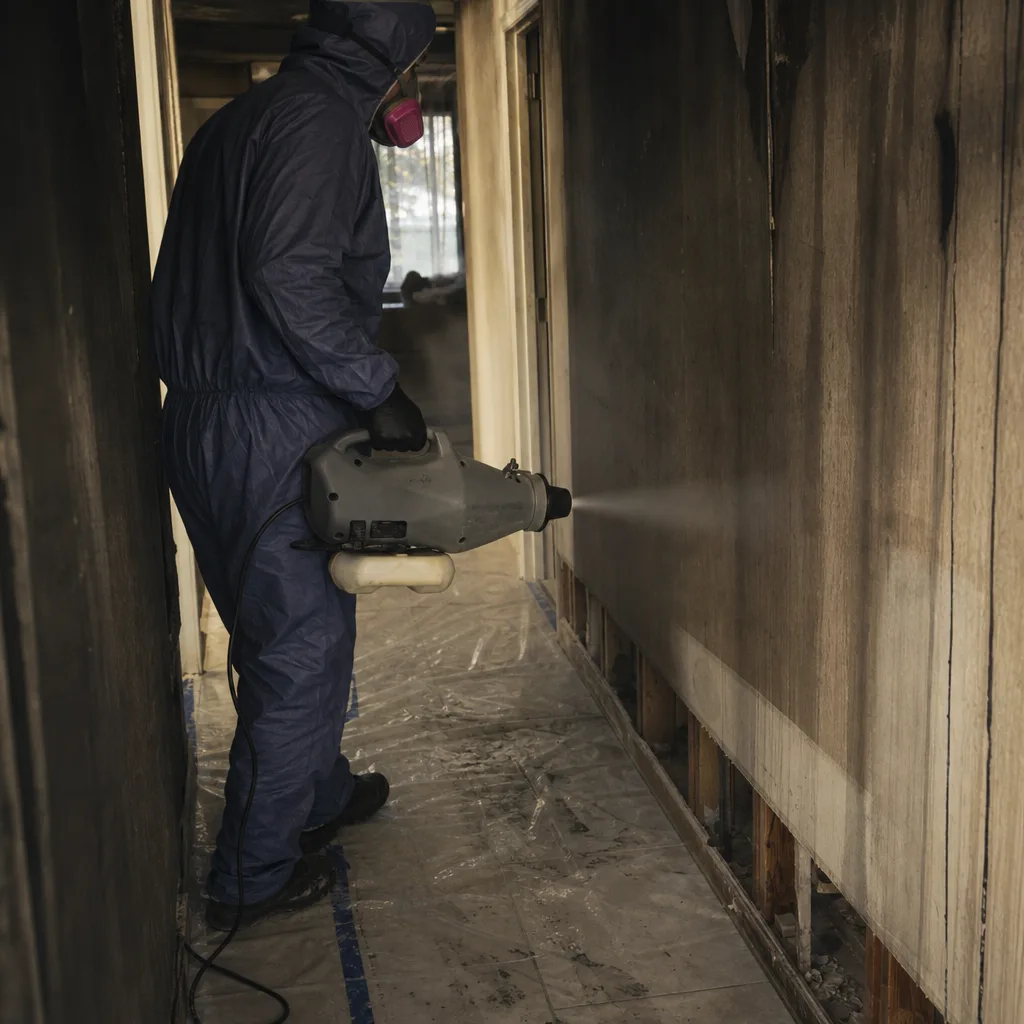
 Fire & smoke cleanup
 Mold remediation
 Storm response
 Sewage cleanup
 Reconstruction
Free visual inspection and a written scope of work before any mitigation begins - photos, moisture readings, and drying logs go in your claim file
The scope we write is the scope we bill. Anything new gets shown to you, in writing, before we touch it.
Get your free estimateWater Damage Restoration Troubleshooting: Common Problems and How to Fix Them
The most expensive water damage mistakes don’t happen while the water is still rising. They happen on day three, after the standing water is gone and the drying equipment is humming along, when homeowners make decisions that feel logical but quietly reset the drying clock or, worse, give an insurance adjuster a reason to push back on the claim. We’ve seen five specific decisions repeat across hundreds of jobs in Corona: turning the HVAC back on, moving drying equipment to “quieter” spots, trusting a single moisture reading, pulling equipment too early, and skipping the final clearance documentation. This guide walks through each one, plus the troubleshooting protocols our IICRC-certified technicians use when drying stalls, floor readings plateau, or a musty smell returns weeks after a job was signed off. For a broader overview, see The Complete Guide to Damage Restoration in Corona. If you’re mid-claim or watching a dehumidifier run right now, this is what actually matters.
Restoration work we handle
Quick Answer
Water damage restoration problems usually trace to one of five root causes: running central HVAC during drying (which redistributes moisture into unaffected rooms), undersized or poorly placed drying equipment, trapped moisture in subfloors or wall cavities, premature equipment removal before drying goals are met, and incomplete post-remediation verification. The fix in each case is protocol-driven: isolate the affected zone, match equipment capacity to affected square footage, use targeted structural drying tools like Injectidry systems for cavities, hold equipment until moisture content readings hit dry standards, and demand written drying logs with before-and-after readings for every affected room.
Table of Contents
- Problem One: The Central HVAC Mistake That Triples Remediation Scope
- Problem Two: Undersized Drying Equipment for the Affected Square Footage
- Problem Three: Flooring Readings That Plateau and Won’t Drop
- Problem Four: The Mold Smell That Returns After Restoration Is Declared Complete
- Problem Five: Equipment Pulled Before Drying Goals Were Actually Met
- The Documentation You Should Demand Before Equipment Leaves Your Property
- Common Mistakes to Avoid
- When to Call a Professional
- Frequently Asked Questions
- The Bottom Line
Problem One: The Central HVAC Mistake That Triples Remediation Scope
Turning your HVAC system back on during active drying is the single most common homeowner mistake restoration crews encounter in Corona. It feels logical. The house feels damp and humid, the air handler seems like a giant dehumidifier, and the thermostat is right there. But running central air during water damage remediation is counterproductive in a way that surprises most people.
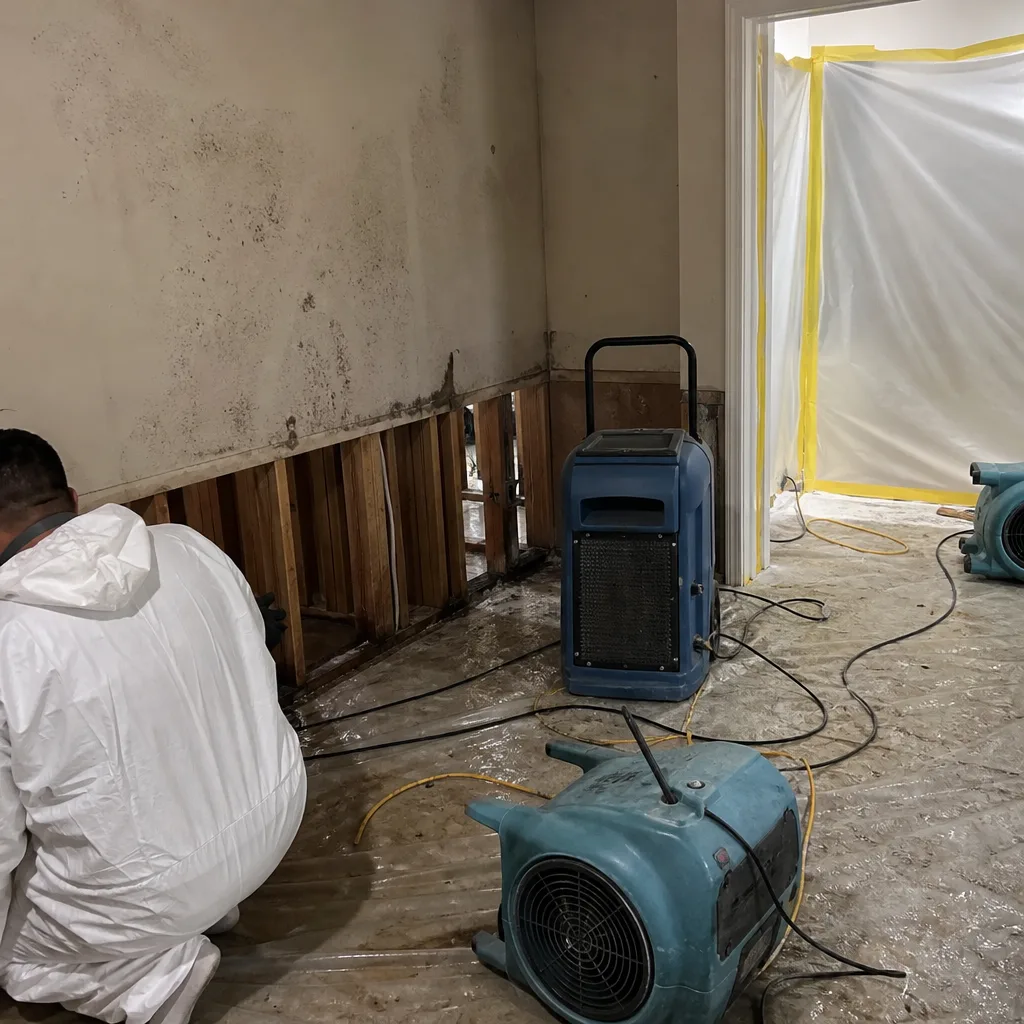
Here’s what actually happens. Your HVAC system pulls air from every room in the house through return vents, conditions it, and redistributes it through supply registers. When part of your home is actively drying, the air in that zone carries elevated moisture content, sometimes dramatically elevated. The system pulls that wet air into the ductwork and pushes it into rooms that were never wet. We’ve documented cases in Corona where a hallway that was dry on day one showed elevated moisture readings on day three solely because the HVAC system was recirculating moisture-laden air during the drying process. What started as a single-room water event becomes a multi-room drying project.
The fix is straightforward. Keep the HVAC system off while drying equipment is running in affected areas. Run the restoration company’s commercial-grade dehumidifiers and air movers instead. These units are sized specifically for the affected cubic footage, and they process air locally rather than distributing it house-wide. If the water event happened during a Southern California summer and the affected area is genuinely uncomfortable, ask the restoration crew to isolate the affected zone with containment barriers rather than turning the system back on.
One nuance worth understanding: if water reached your HVAC system, whether through the return ducts or the air handler itself, that’s a different problem from the recirculation issue. Ductwork that took on water needs a separate evaluation, and possibly cleaning or replacement, before the system can be safely restarted. Our team at OC Restoration Co home performs HVAC-adjacent assessments as part of every water damage scope in Corona, because contaminated ductwork is an easy thing to miss when the visible damage is in a bathroom or kitchen.
Problem Two: Undersized Drying Equipment for the Affected Square Footage
Not all drying equipment is created equal, and more importantly, none of it works when it’s undersized for the room it’s drying. Homeowners often assume that a couple of box fans and a rental dehumidifier from a hardware store are roughly equivalent to professional restoration equipment. They’re not, and the difference matters more than most people realize.
Professional restoration drying follows a calculation. The affected square footage and cubic volume determine how many air movers are needed, how many dehumidifiers, what class of dehumidifier, and how much airflow should be pointed at walls, floors, and cavities. IICRC standards, the restoration industry’s most recognized credentialing criteria, define these calculations. A 200-square-foot room with saturated drywall and soaked carpet pad might require three or four high-velocity air movers and a commercial dehumidifier with a specific pint-per-day removal capacity. A pair of rental units from a home improvement store won’t hit the required evaporation rate, and the drying process stalls.
When drying is undersized, a few things happen. Moisture readings drop quickly at first, then plateau. That’s the signature pattern: fast initial drop as surface water evaporates, then a stall as the equipment hits its removal capacity while the remaining water is bound deeper in the materials. The room feels dry to the touch, but wood framing, subfloor, and sill plates stay damp. That trapped moisture is exactly what leads to mold growth weeks or months later, long after everyone assumes the problem is solved.
How can you tell if a restoration company’s drying equipment is undersized? Ask three specific questions. First: how many air movers are placed per affected room, and what’s the CFM rating on each? Second: what’s the pint-per-day capacity of the dehumidifiers, and does it match the affected cubic footage? Third: will the company provide daily moisture readings in writing for the entire drying period? A legitimate restoration firm answers these questions directly. If the answer is vague, or if the only equipment visible is a single dehumidifier for a multi-room water event, that’s a red flag.
In Corona specifically, our drying plans account for the area’s dry-air climate during most of the year, but also for the occasional inland humidity spikes that can slow evaporation unexpectedly. Monitoring equipment matters: we log moisture content readings daily rather than assuming the ambient conditions will do the work for us.
Problem Three: Flooring Readings That Plateau and Won’t Drop
This is the most common mid-restoration problem we troubleshoot: moisture readings in flooring materials drop steadily for two or three days, then plateau and won’t move. The homeowner sees dehumidifiers running, air movers blasting, and a floor that looks dry. But the numbers aren’t budging, and nobody involved can explain why.
The reason is almost always trapped subfloor moisture. Water runs downhill. If water sat on a tile, hardwood, or laminate floor for any length of time, a portion of it migrated through the seams, edges, or cracks into the subfloor below. Depending on the flooring type, the subfloor might be plywood, OSB, or concrete. That water is now trapped between the visible flooring and the subfloor, and surface drying won’t reach it.
The standard protocol for this situation has specific steps, and if your restoration company isn’t following them, the drying plan is incomplete.
- Map the plateau with a penetrating moisture meter. Surface-level pinless meters only read the top layer. A penetrating meter with pins reads moisture at depth, and it should be used on multiple grid points across the affected flooring area to map the full extent of trapped moisture.
- Unseal the flooring edges. This usually means pulling a few planks or tiles at the wettest mapped points to expose the subfloor. Demolition might sound drastic, but without accessing the trapped layer, no amount of surface air movement solves the problem. Targeted removal beats full-floor replacement every time.
- Deploy structural drying equipment. This is where Injectidry and similar systems come in. Injectidry mats and panels attach directly to the exposed subfloor or fit into wall cavities and create negative pressure that pulls moisture out of structural layers that ordinary air movement never reaches. This is structural drying, not just surface drying, and it’s the difference between a floor that’s actually dry and a floor that looks dry.
- Monitor daily until readings hit dry standard. The dry standard varies by material and region. Plywood subfloor in a Corona home needs readings consistent with regional ambient conditions before the job is complete. Your restoration company should define the target number up front and hold equipment until it’s met.
A key signal that this process was skipped: the restoration company pulls equipment, the floor looks fine for a month, then cupping, buckling, or warping appears. That’s trapped subfloor moisture expressing itself. It’s also exactly the kind of call we handle in Water Damage Restoration in Fallbrook and surrounding communities, often for homeowners whose initial restoration attempt was incomplete.
Problem Four: The Mold Smell That Returns After Restoration Is Declared Complete
A recurring musty odor weeks or months after a water damage restoration was declared complete is one of the most frustrating experiences a homeowner can have. The restoration was supposedly finished. The drying equipment was removed. The area was cleaned. And then the smell comes back.
This problem has three common causes, and tracking down the right one determines whether the fix is simple or requires reopening the restoration scope.
Cause one: the drying goal was met on visible surfaces but not in hidden cavities. Drywall may have tested dry on the exposed face, but the studs behind it, the sill plates below it, or the insulation inside the wall cavity still carried elevated moisture when the job was closed out. That trapped moisture supports microbial growth that produces the characteristic musty odor. The only reliable fix is to reopen the affected area, expose the cavity, and complete structural drying with targeted equipment.
Cause two: carpet pad was dried in place but should have been replaced. Carpet pad is a sponge. In some circumstances it can be dried and saved; in many water damage scenarios, especially involving contaminated water or long soak times, the pad should be removed and replaced rather than dried. If a restoration company dried pad that should have been discarded, the pad can still harbor organic material and moisture that eventually produces odor. Once again, the fix is removal and replacement, not more deodorizing.
Cause three: the water source was never fully eliminated, and secondary damage occurred during drying. This happens when a supply line leak behind a wall was repaired, but the repair failed slowly, or when a secondary leak from a different source began after the original restoration. The only way to rule this out is a moisture assessment of the full area, not just the originally affected zone.
Whatever the cause, a returning mold smell means the restoration work was not actually complete. The correct next step is a full reassessment with moisture meters, infrared imaging, and cavity inspection. If you’re in the middle of an insurance claim, this is also the moment to document everything carefully, because the original restoration firm failed to hit the drying goals their own protocol defined. Our Mold Remediation in Fallbrook process starts with exactly this kind of forensic reassessment before any remediation scope is written.
Problem Five: Equipment Pulled Before Drying Goals Were Actually Met
Restoration companies are under pressure to pull drying equipment as fast as possible. Equipment costs money to operate, the insurance adjuster wants the claim resolved, the homeowner wants normal life back, and no one wants the disruption of industrial fans running in the living room for another week. But pulling drying equipment before moisture content readings actually hit dry standard is the most common root cause of long-term water damage problems.
The IICRC publishes specific dry standards for different materials. A “drying goal” in a professional restoration plan is not a vibe. It’s a target number on a moisture content meter for hardwood, drywall, framing lumber, concrete, and other affected materials. The meter reading needs to be within the acceptable range for the specific material, in the specific climate, at the specific time of year. In Corona, that means accounting for Southern California baseline moisture levels, which differ from, say, a coastal city in Florida or a mountain town in Colorado.
There’s an uncomfortable dynamic here worth naming. Some restoration companies, especially the ones that treat water damage as a sideline rather than a specialty, pull equipment when the homeowner stops complaining and the visible surfaces look dry. That’s not a drying goal. That’s an appearance threshold, and it has nothing to do with whether the structural materials beneath the surface are actually dry.
This is why documentation matters so much, and why the next section matters more than any individual troubleshooting tip in this guide. If a homeowner suspects drying goals were not actually met before equipment was pulled, they need specific records to prove it.
The Documentation You Should Demand Before Equipment Leaves Your Property
If you remember one thing from this entire guide, make it this: the difference between a water damage restoration job done right and one that causes problems later is documented proof of drying completion. A legitimate restoration company will provide written records without being asked. A company that cuts corners will resist documentation, because documentation makes corner-cutting visible.
Here’s the specific documentation a homeowner in Corona should demand before drying equipment is pulled and the restoration is declared complete. Every item on this list ties directly to industry protocol, and every item is something an insurance adjuster can and will review.
- Daily moisture content readings for every affected room. Not a summary. The actual readings, with date, time, location, material tested, and meter type. Daily readings show the drying curve: initial readings, the downward trend, and the final readings that justify equipment removal.
- Target dry standard for each affected material. Before drying starts, the restoration company should define the target moisture content number for hardwood, drywall, framing lumber, and any other affected materials. That target should be documented against the IICRC standard for that material in the local climate.
- A written drying plan. This includes equipment type, capacity, placement map, and expected duration for each affected area. You’re not expected to understand every technical detail, but the plan should exist and should be available for review.
- Equipment removal log with final readings. When equipment is pulled, the restoration company should record the final moisture content readings for each area and compare them to the target dry standard. If the final readings don’t meet the standard for any material, the drying wasn’t complete.
- Photos of affected areas before, during, and after drying. Documentation of visible moisture conditions, equipment placement, and final conditions. Our crews document every phase with photos specifically for insurance file support.
- A written scope of work that defined the original affected square footage. This tells you whether the drying equipment was sized for the full affected area or only for the visible portion.
If your restoration company cannot produce these records, or if the records show readings that never actually hit the target dry standard before equipment was pulled, you have a legitimate dispute to raise with both the restoration company and your insurance adjuster. Our Fire Damage Restoration in Fallbrook team handles post-loss documentation with the same rigor, because protocol-driven documentation protects the property owner as much as it protects the contractor.
Common Mistakes to Avoid
- Turning the HVAC system back on during drying. This is the number-one mistake in Corona and everywhere else. The system pulls moisture-laden air from affected areas and redistributes it into rooms that were never wet, expanding the remediation scope unnecessarily.
- Moving drying equipment to make rooms quieter or more usable. Air movers are placed in specific positions to create airflow across wet surfaces. Moving them, even a few feet, interrupts the airflow pattern and extends drying time. Live with the noise for the sake of a faster, more complete dry.
- Using a consumer dehumidifier instead of a commercial-grade unit. A hardware-store dehumidifier removes a fraction of the moisture that a Dri-Eaz or Phoenix commercial unit does. In a 300-square-foot room with saturated carpet and drywall, consumer equipment is overwhelmed within hours, and moisture readings will stall.
- Relying on touch to evaluate dryness. Your hand cannot detect moisture below roughly 15 percent in wood, but the threshold for safe structural drying is far lower. Only a calibrated moisture meter gives an accurate reading. If your restoration company’s crew isn’t using meters frequently, ask why not.
- Accepting “it looks dry” as the closing report. Surface appearance has no bearing on structural moisture content. The floor can look perfectly dry while the subfloor underneath is still wet enough to support mold growth. Demand the written readings described in the documentation section above.
- Waiting to document your own observations. Take photos of the water event, the drying equipment in place, and the affected rooms at every stage. Your own photo log is evidence if a dispute arises later about what was or wasn’t dried.
- Not asking about the water category before remediation starts. Clean water from a supply line and contaminated water from a sewage backup require completely different remediation approaches. If your restoration company doesn’t tell you the water category they’re treating, ask.
When to Call a Professional
Some water damage problems are safely handled with a wet vac, a few fans, and time. A small spill from a sink overflow on a tile floor, caught early and dried within 24 hours, probably doesn’t require professional restoration. But water damage that has sat for more than 48 hours, that has soaked into drywall or flooring, or that came from a potentially contaminated source is a different thing entirely. If moisture has migrated into wall cavities, under flooring, or into HVAC ductwork, you need structural drying equipment and protocol-driven monitoring. If mold is already visible or a musty odor is present, you need certified mold remediation, not just more drying. If you’re mid-claim with your insurance company, you need a restoration partner whose documentation process satisfies adjuster requirements. OC Restoration Co offers free estimates in Corona – call (833) 589-7005 to have a certified technician assess your situation.
Frequently Asked Questions
Moisture readings plateau when the drying equipment removes surface and near-surface water quickly, but water trapped in subflooring, wall cavities, or behind baseboards cannot be reached by surface airflow alone. The fix is targeted structural drying with systems like Injectidry, which applies negative pressure directly to trapped moisture zones, plus continued monitoring until readings hit the material-specific dry standard.
No. Running central HVAC during active drying pulls moisture-laden air from affected rooms and redistributes it through the ductwork into unaffected areas, expanding the remediation scope. Keep the system off while drying equipment is running, and ask the restoration company to isolate the affected zone with containment barriers if climate control is a comfort concern.
The only reliable way to know if drying equipment is working is daily moisture content readings taken with calibrated meters. If readings are trending downward consistently, the equipment is doing its job. If readings stall for more than a day or two, the drying plan needs adjustment, usually involving additional equipment capacity, targeted structural drying, or accessing trapped moisture beneath flooring.
If a musty odor returns after restoration has been declared complete, the original drying was not finished. Call the restoration company back for a full reassessment with moisture meters and cavity inspection, and document everything. This is the moment to insist on written drying records from the original claim, because a returning odor usually points to hidden moisture that was missed.
Professional drying equipment should run until moisture content readings for every affected material hit the dry standard defined in the drying plan. That’s typically three to seven days for moderate water damage, but it can extend to two weeks or more for saturated structural materials, concrete slabs, or multi-room events. The standard is the meter reading, not the calendar.
The three things that make the difference are prompt reporting, complete photo documentation from the moment of discovery, and a restoration company that provides written drying logs and a documented scope of work. Insurers process water damage claims more smoothly when the restoration contractor follows IICRC protocols and can produce verifiable moisture readings, equipment logs, and before-and-after documentation.
The Bottom Line
Water damage restoration is not a spectator event, but it shouldn’t be a battleground either. The homeowners who get the best outcomes ask two questions early and keep asking them until the job is done: what’s the target moisture content for each affected room, and when will the readings hit that target? Everything else follows from those two questions. Leave the HVAC off during drying, hold the equipment until the meters say the job is finished, and demand written documentation of every reading, every placement decision, and every equipment removal. If something feels off, it probably is, and you have every right to ask for the records. In Corona, you can call (833) 589-7005 for a free estimate and a protocol-driven assessment from a restoration team that treats documentation as a standard part of the job, not an afterthought.
Written by the team at OC Restoration Co, serving Corona since 2017. Explore more guides & resources on our blog.
See the difference
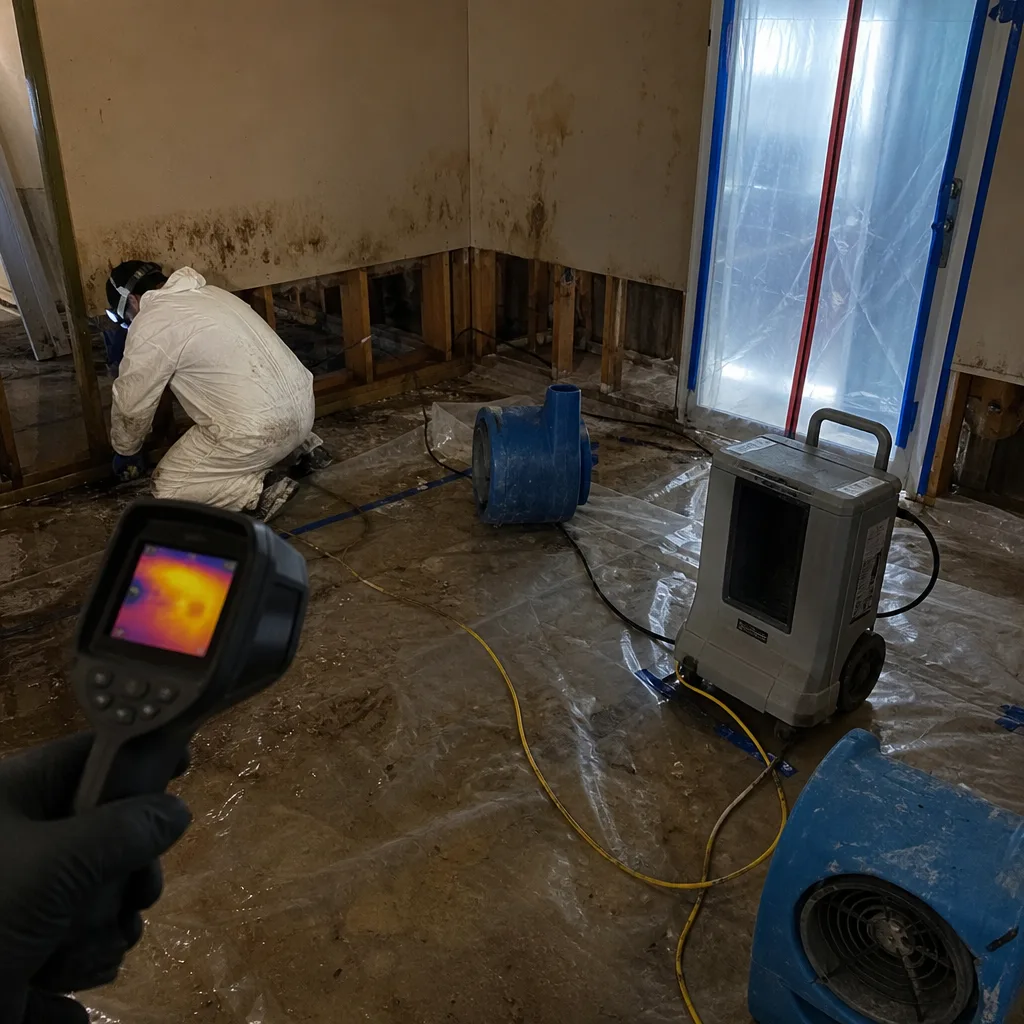 Before
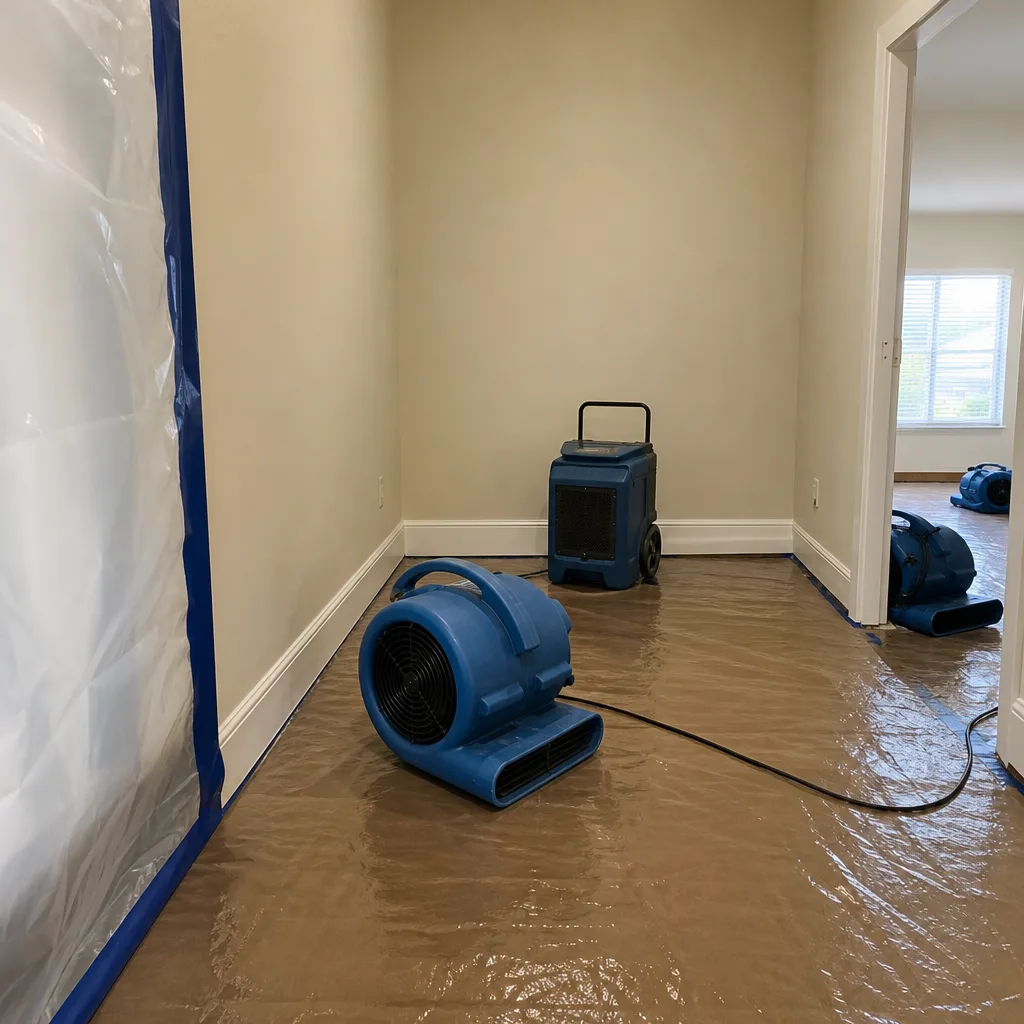 After
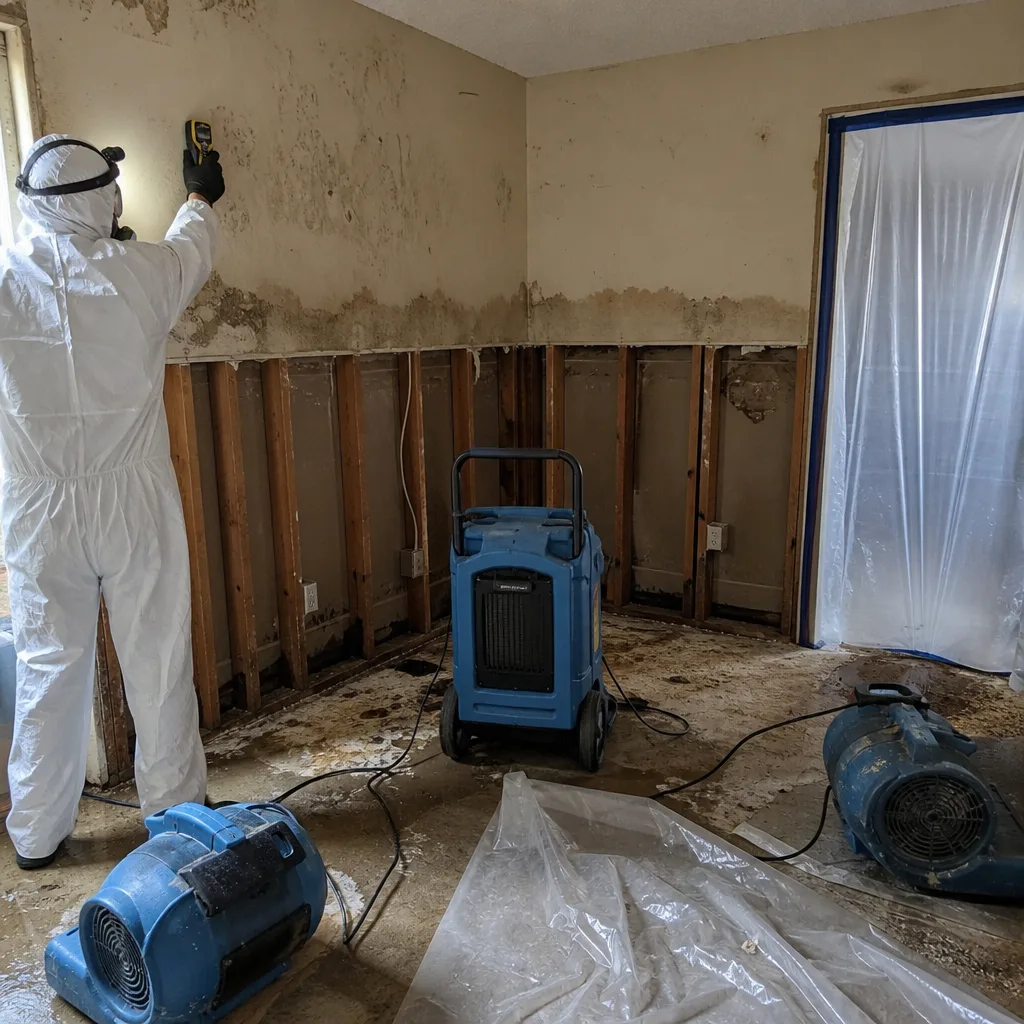 Before
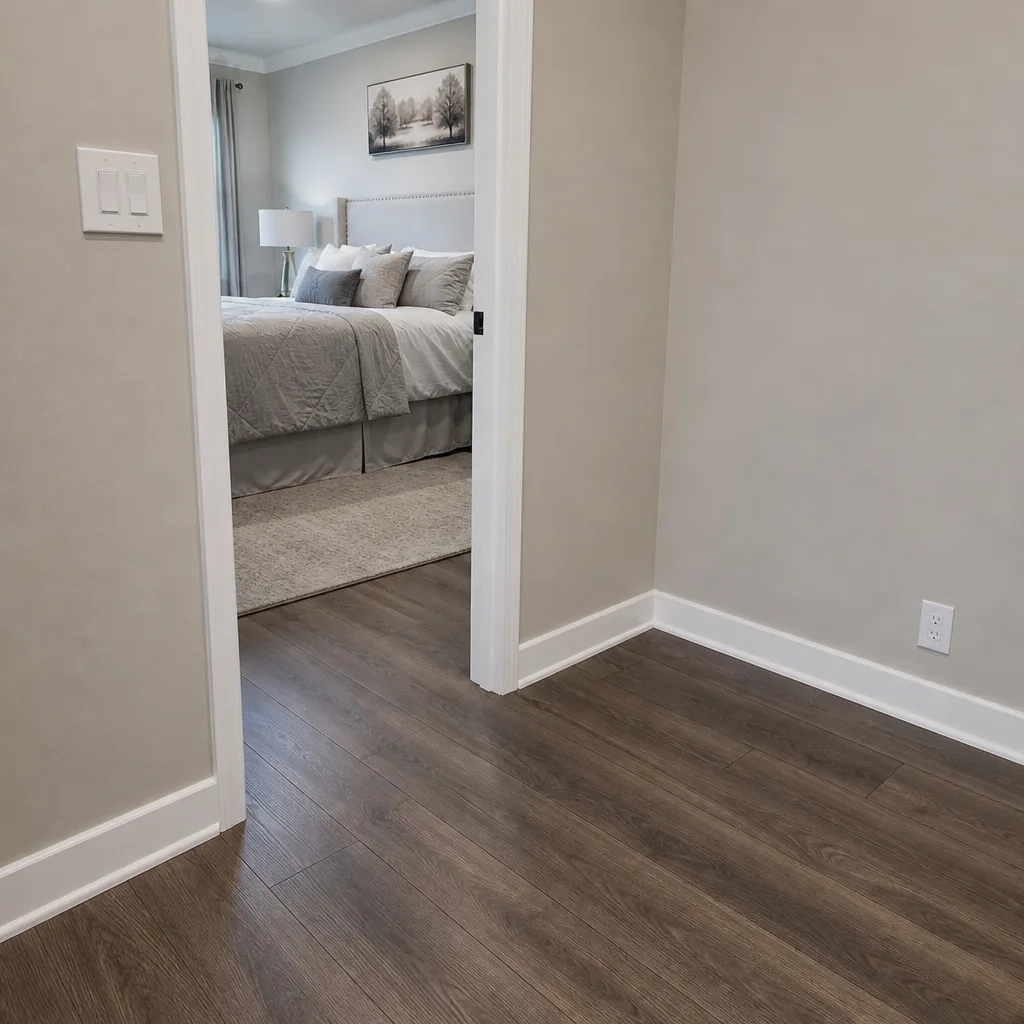 After
 Before
 After